Introduction
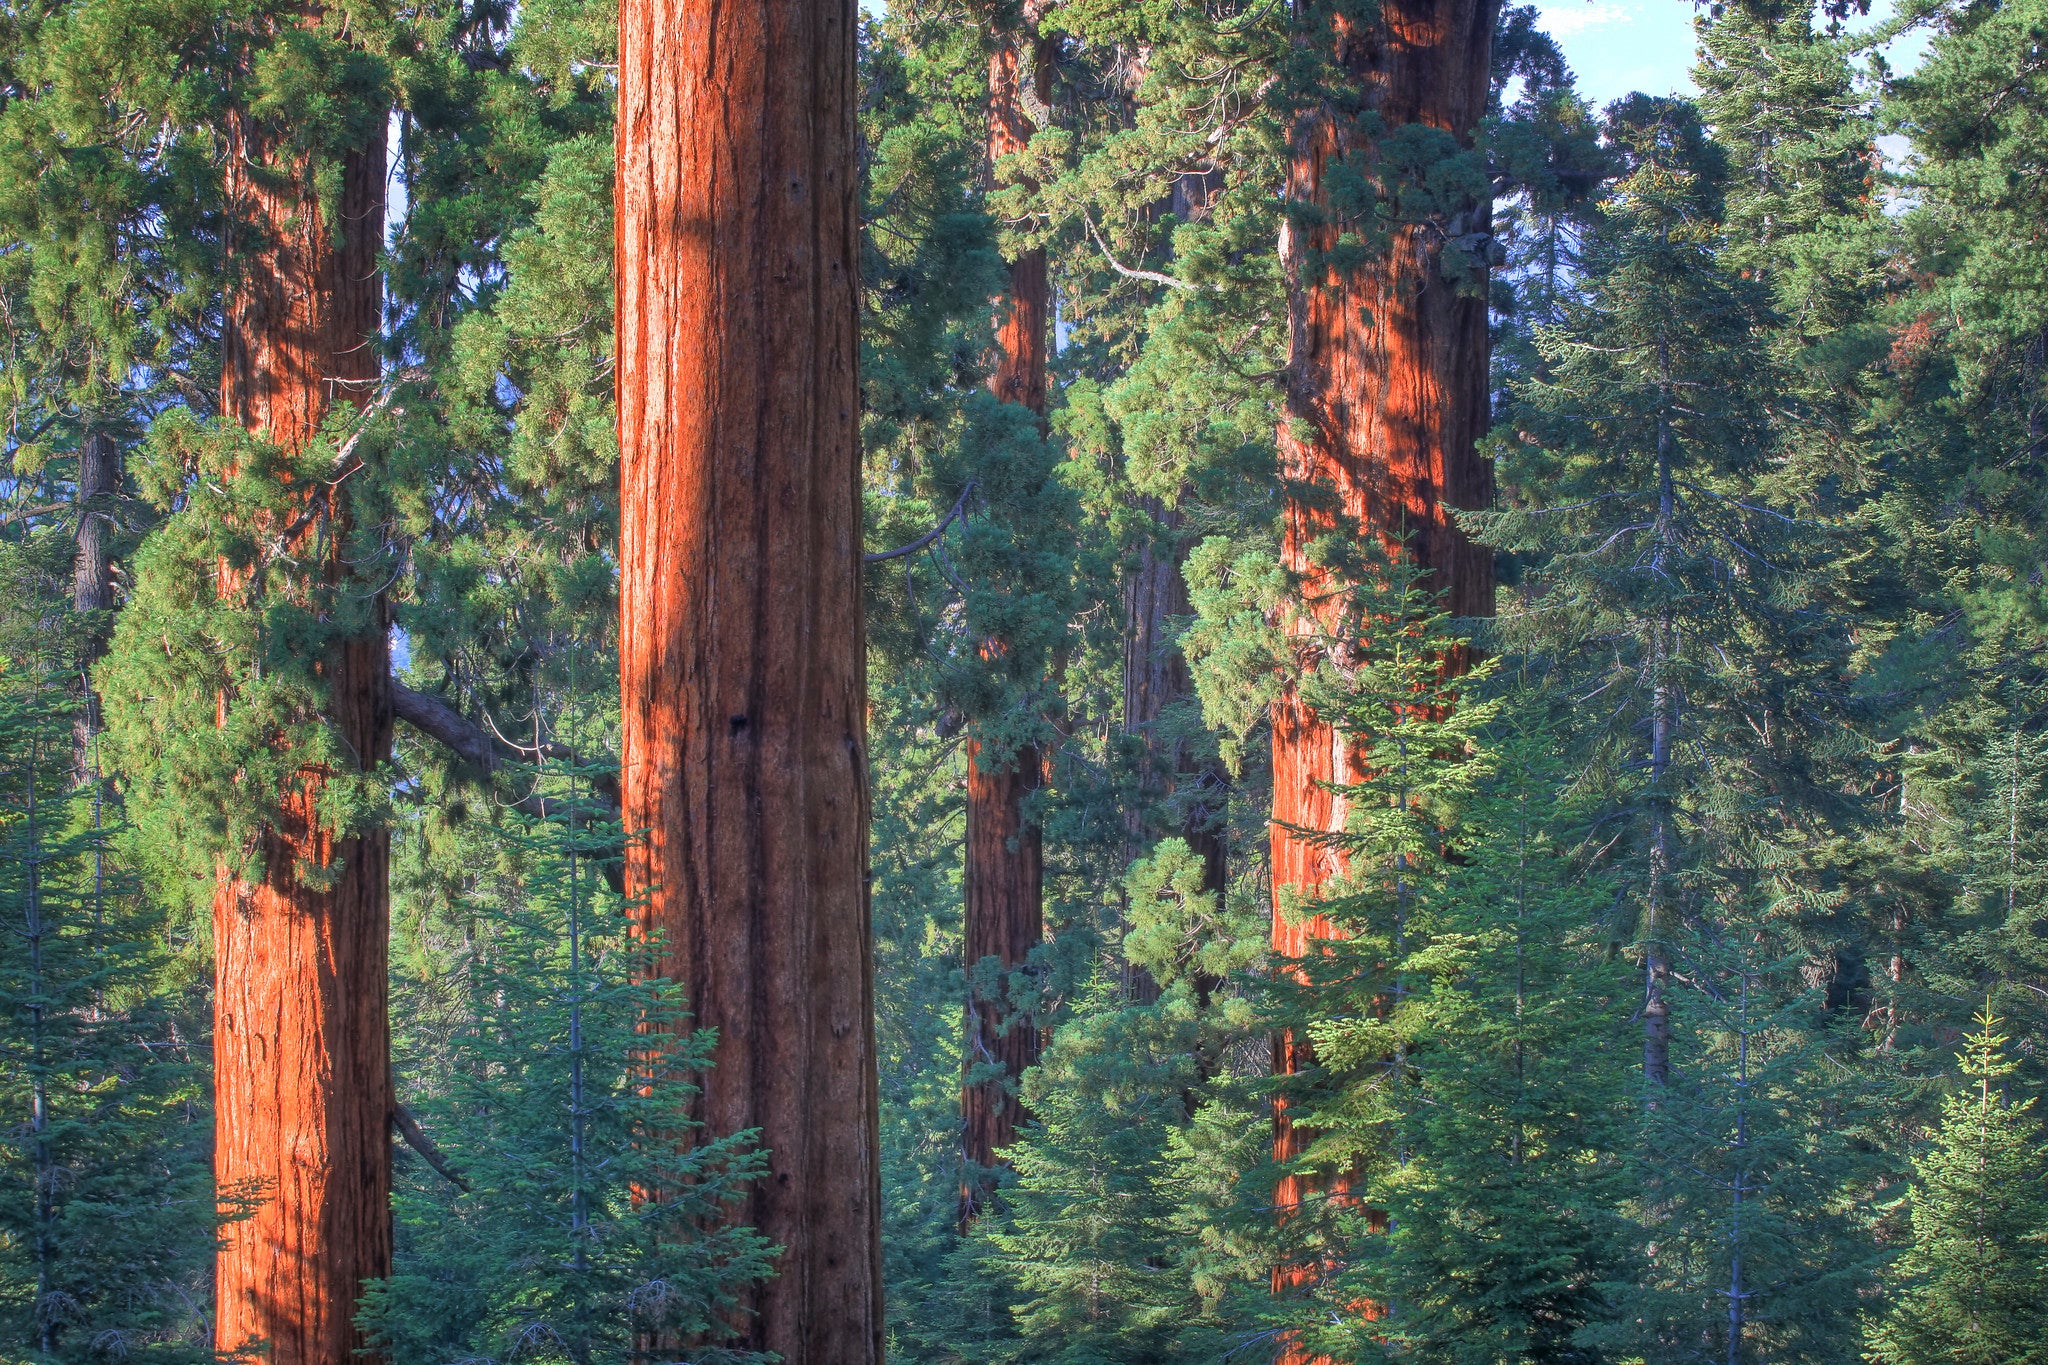
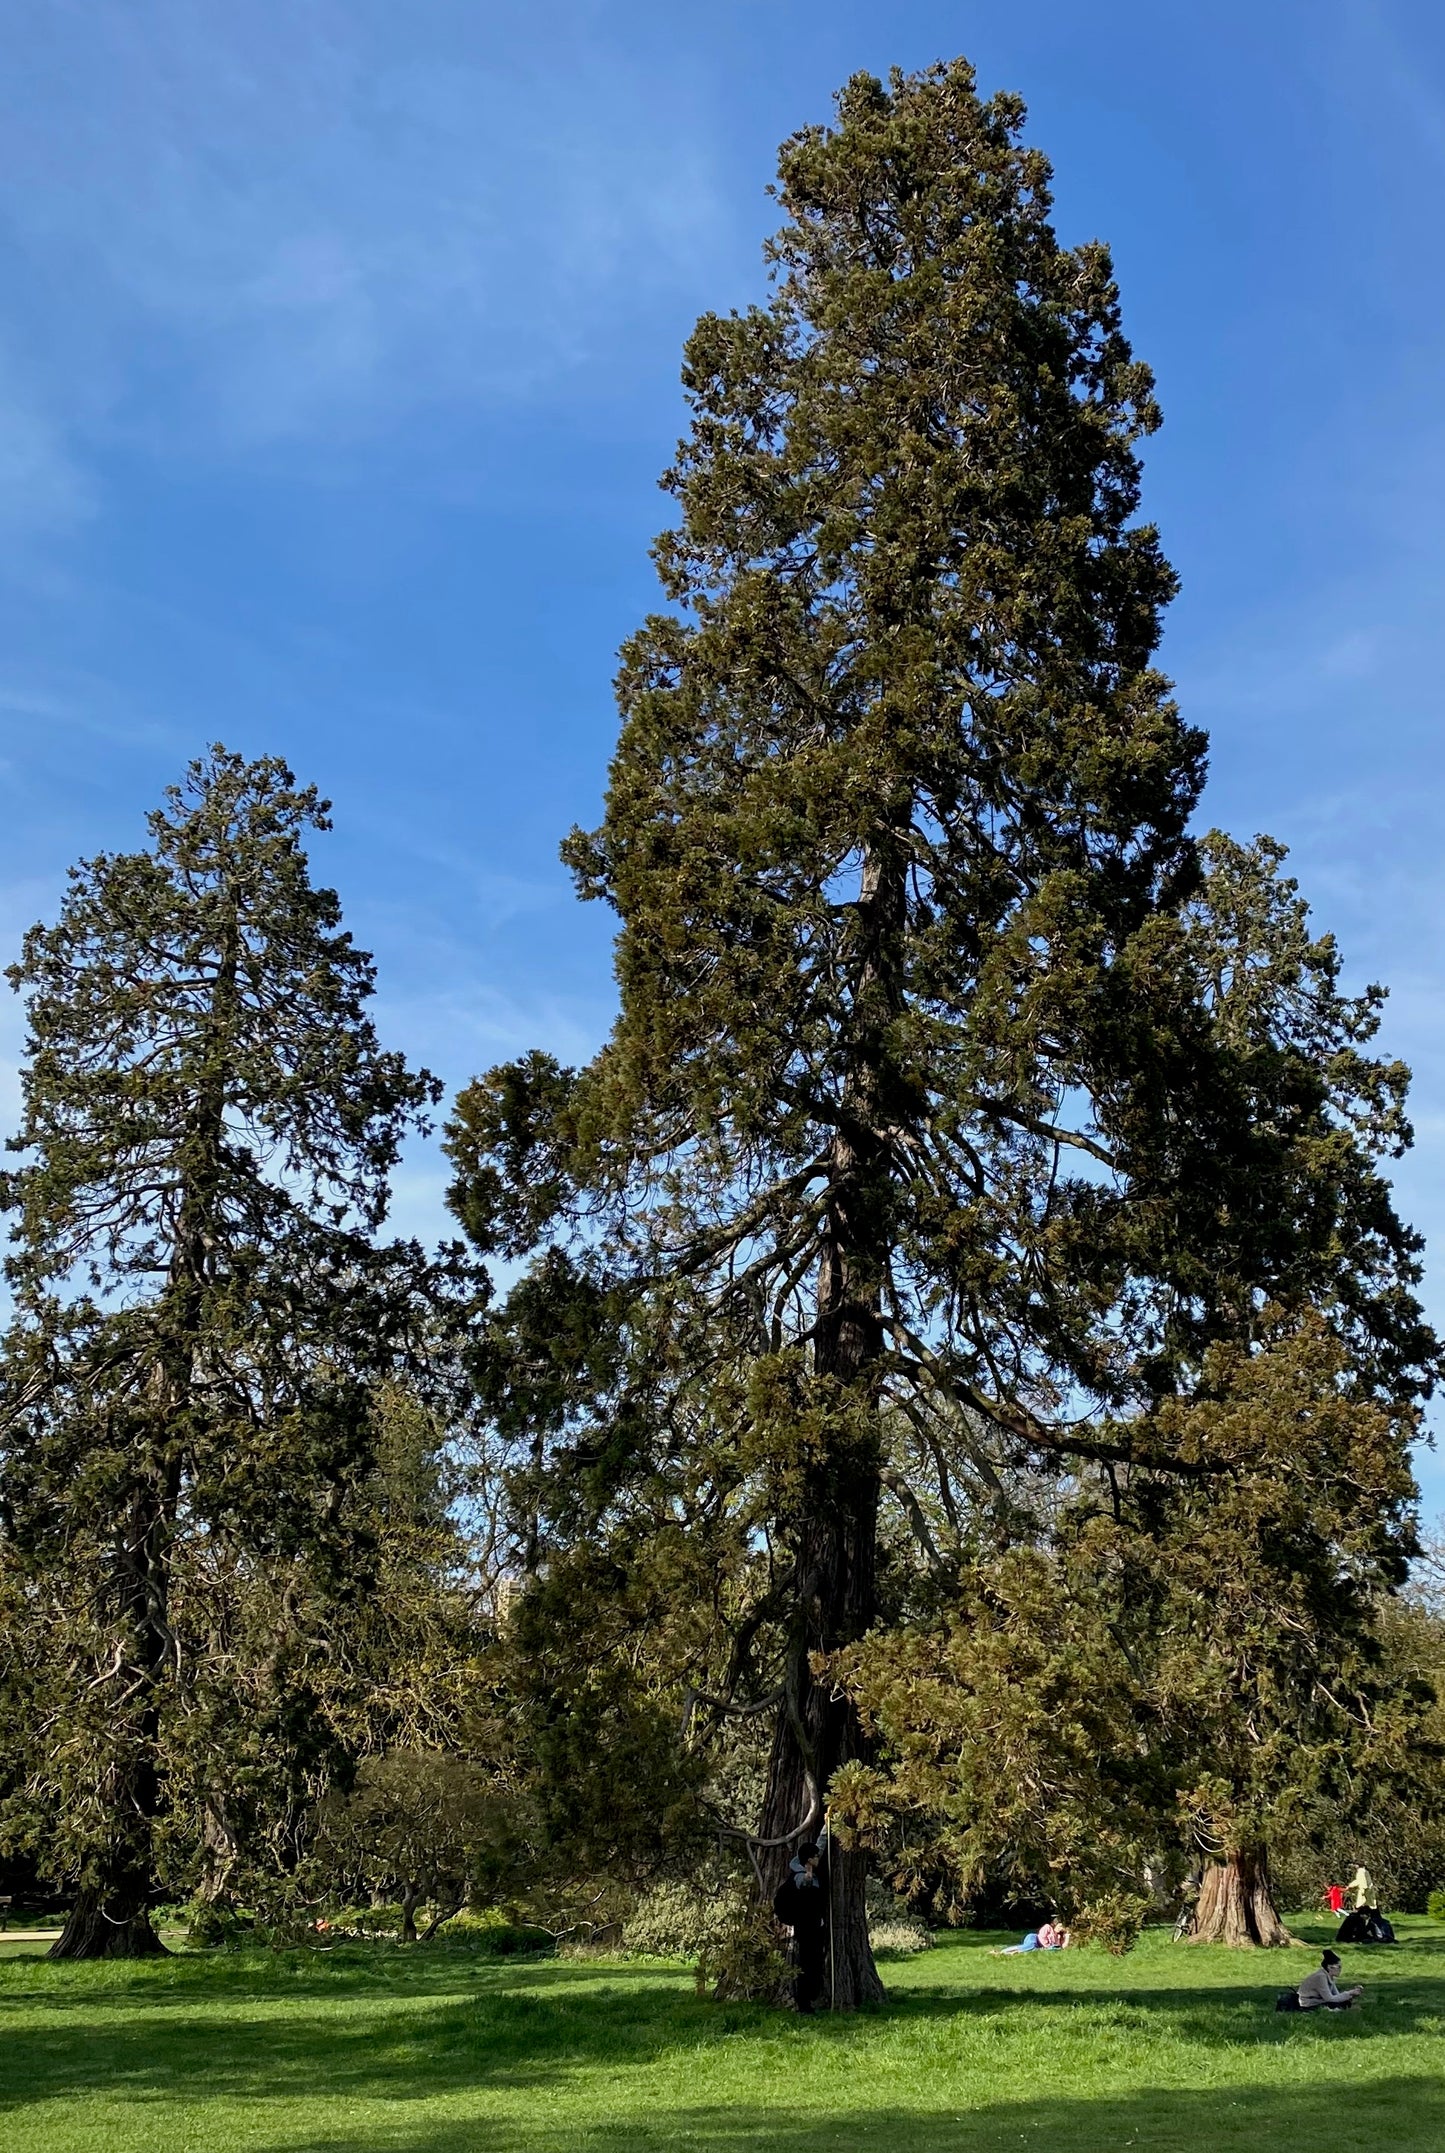
Giant Sequoia goes by many different names. Botanically it’s known as Sequoiadendron Giganteum. In the UK, the specie is often known as Giant Rewood, and historically by the now (mostly retired) name of Wellingtonia. Whatever name you use, the Giant Sequoia is a formidable pinnacle on any horizon. As the largest tree specie on earth by mass, it has a notorious image in popular culture as the tree so large you can drive through its trunk. For many, the prospect of growing their own Giant Sequoia from seed is an exciting one – your work could produce an iconic tree that draws carbon dioxide out of the atmosphere for the next 3,000 years.
Growing Giant Sequoia from seed can feel a bit daunting. The specie has a reputation for being somewhat complicated to germinate and grow through the first few weeks, where seedlings are highly prone to damping off (dying from fungal growth). However, with the right approach, germination rates can be relatively high and damping off can be largely avoided. With that said, if this is your first time growing Giant Sequoia, be prepared for the possibility of losing some seedlings – even the most experienced growers will lose a proportion of their seedlings – this is just the nature of growing trees. A good approach to avoid disappointment is to grow more than you want, and if things go well you have some extras to give out as presents.
The quick version
Not everyone will have time to read this full growing guide! Therefore, if you just want to quickly get started, here's what you really need to know:
- As soon as your seeds arrive, soak them overnight in water.
- In the morning, drain the water away, leaving the seeds damp.
- Place the damp seeds in a sealed container that can trap in the moisture.
- Place the seeds in the fridge for 2-6 weeks (this process is known as cold stratification).
- Your seeds are now ready to sow, either directly into a seed starting mixture; alternatively you can sow on damp kitchen paper or filter paper and plant seeds carefully once they have germinated.

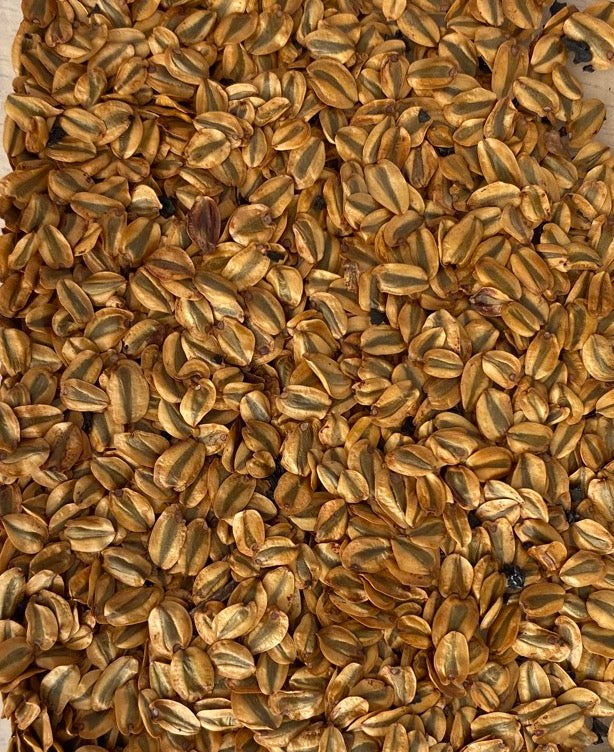
Sourcing seeds
Buying seeds
If you live in the UK, please consider buying your Giant Sequoia seeds from our store. Not only is our stock of a high quality and priced competitively, but when you buy from us you are supporting the production and maintenance of this website’s free growing guides. If you live outside of the UK, we recommend you search for reputable seed suppliers in your region.
Collecting your own
You can also grow Giant Sequoia from seeds you have collected yourself. Be aware that if you’re collecting from trees outside of California’s native range (i.e. from trees grown in Europe) you should expect germination rates to be significantly lower than what could be achieved from purchased seed. For many, this won’t be much of a deterrent as growing trees from seeds you have collected yourself is a rewarding experience. We are working on a guide for collecting your own Giant Sequoia seeds and will be releasing it soon on this website – stay turned.
Superlative Trees
Giant Sequoia Seeds
Share

Preparing the seeds
Stratification is a process where you simulate the passing of winter by exposing seeds to cold temperatures – in practice this usually involves placing them in the refrigerator for a few weeks.
There is a lot of discussion online about how to prepare Giant Sequoia seed – some saying the seed won’t grow at all without stratification. It isn’t entirely true to say that Giant Sequoia seedsneedto be stratified to break their dormancy and germinate; our research shows that Giant Sequoia seeds can germinate without stratification, just not in as high of a percentage nor as quickly as they would with stratification. What we found was that a grower’s method of sowing the seeds is more important (makes a bigger difference on the percentage of germinations) than stratification; if you’re a beginner you should ensure you’re focusing more on how you’re sowing the seeds than on how you’re stratifying them. That is not to say that you shouldn’t stratify your seeds, it does have a noticeable effect – especially on the speed at which germination occurs – just that sowing is the main thing to get right.
If you are immediately growing seeds that you have collected yourself in the early springtime, the natural passing of winter will have stratified your seeds for you!
Moist stratification
Moist stratification involves maintaining a higher level of moisture through the refrigerated period. This is the method I recommend.
The first stage of this is to soak the seeds in water for a period of at least a couple of hours, overnight may be preferable.
The next morning, the water should be drained away, leaving the seeds damp but no longer submerged.
Some guides recommend mixing the seeds into a damp medium at this point (i.e. sand or vermiculite) to help maintain and regulate moisture levels. This is beneficial as it helps to stop the seeds from drying out while they are in the fridge.
How long to stratify for?
The benefits of stratification can usually occur within 2-6 weeks. Note that if you’re attempting a moist stratification, longer periods may lead to fungal growth that harms seed viability. Use of an anti-fungal agent is recommended for long periods of stratification.
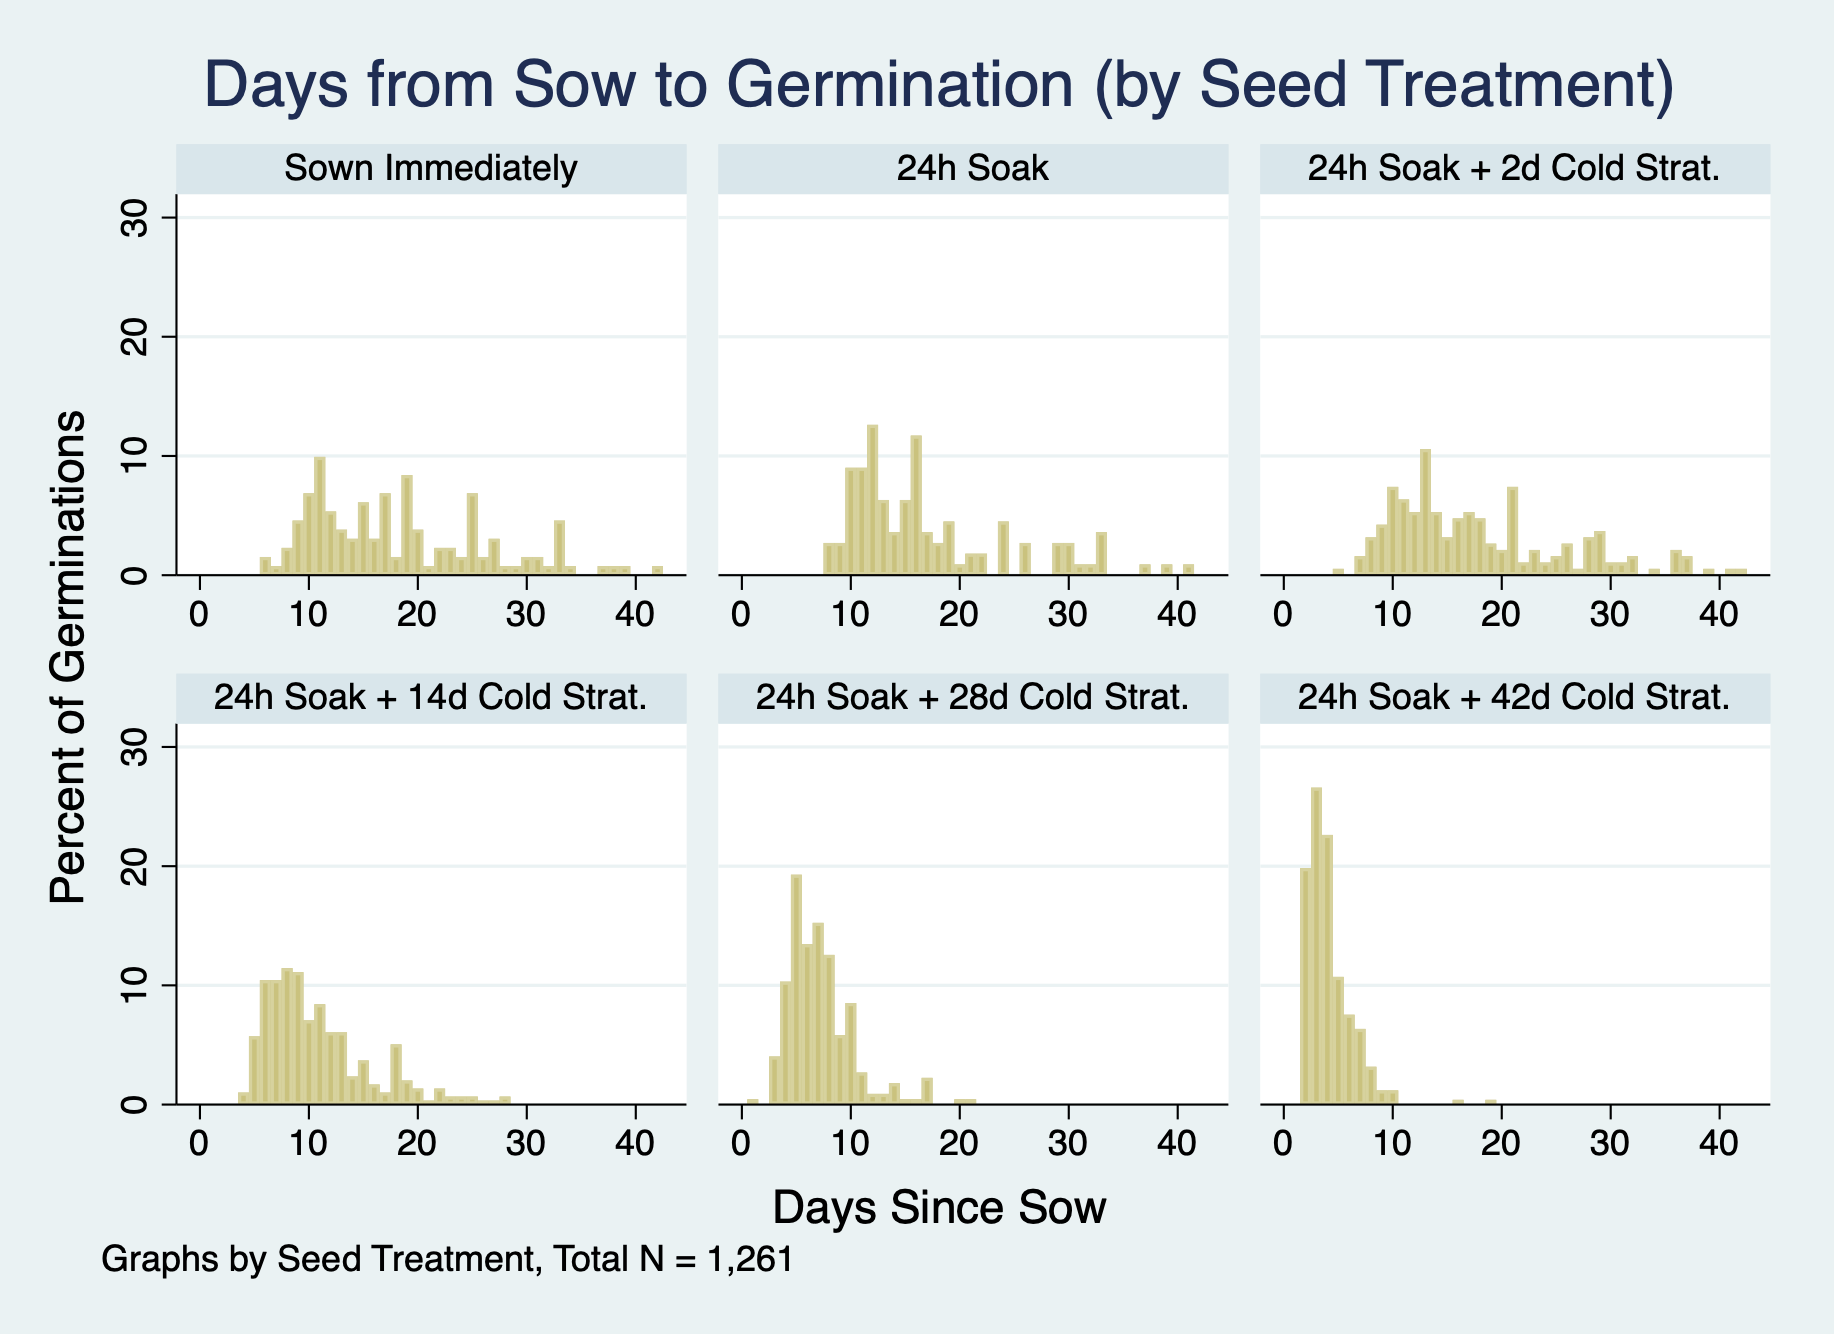
The following graph comes from our experiments germinating over 1,200 Giant Sequoia seeds in order to detail how long it took for seeds to germinate given a range of different forms of stratification. Those that weren’t stratified at all took longer to germinate, while those that had been stratified for longer periods germinated much faster. The group that had been soaked in water for 24 hours and then put through a wet and cold stratification for 42 days saw almost all of the germinations occur within the first 10 days of sowing.
Sowing the seeds
Sowing is the most important step to get right.
The most straightforward option is to sow the seeds directly into a growing medium. For this we would usually mix a loose multi-purpose compost with vermiculite; alternatively a coir compost can be used.
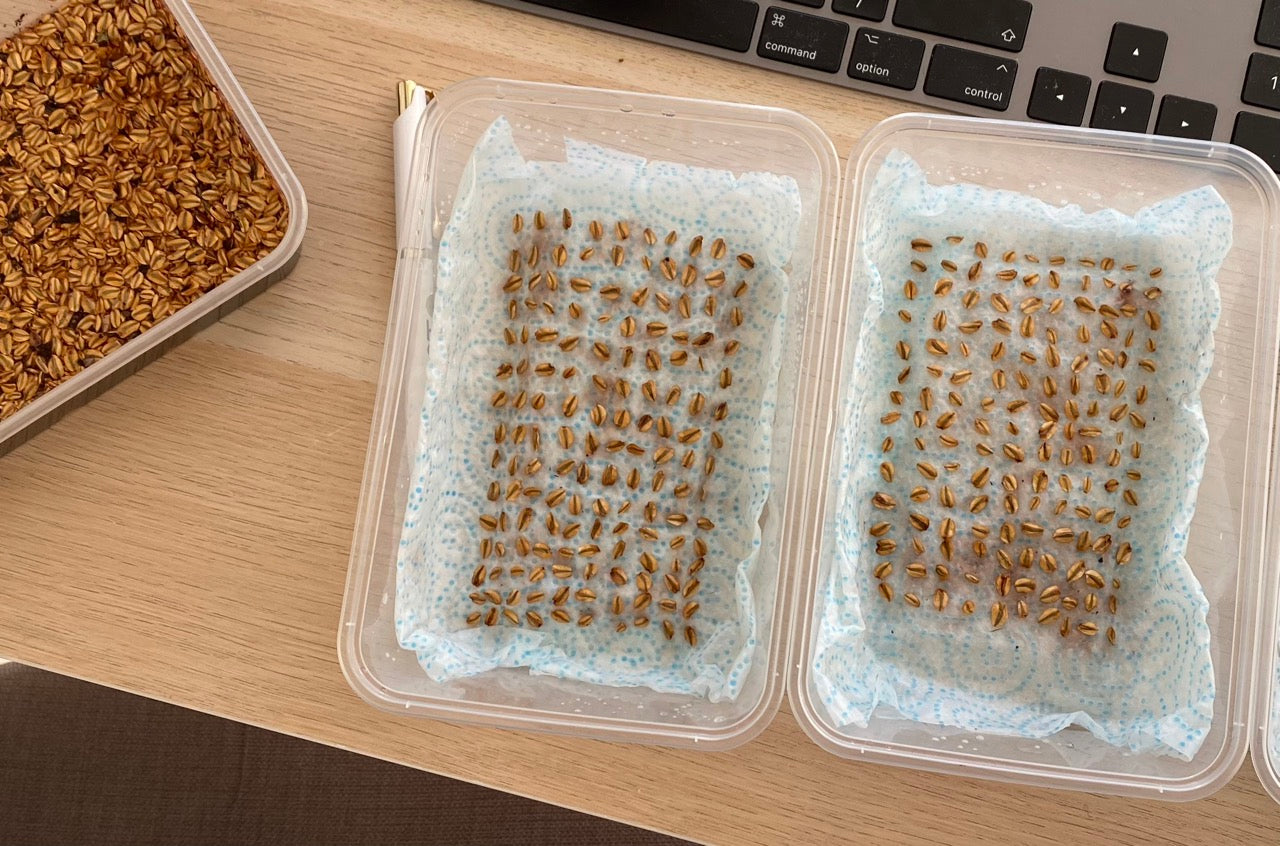
Another method we recommend involves sowing the seeds on a damp tissue paper inside a sealed container that maintains a relatively high humidity. I prefer this over sowing in compost as planting the seeds directly into compost involves guessing germination rates and potentially wasting space or risking having two seedlings growing in one segment that then have to be separated.
The trick at the sowing stage is to get the level of moisture right. Too much and you are at high risk of fungal growth that can damage the seeds. Too little and it will be difficult for them to germinate.
If using the container method, we'd recommend inserting the kitchen paper, then giving it a few sprays with water from a spray bottle so that it is slightly damp. Then place the seeds onto the paper before spraying another few sprays. If you’re worried you made things too wet, you can leave the lid off for a few minutes to let them dry out.
If you use the sealed container method - these should be sealed and placed in a shaded area (away from any direct sunlight) and kept at a comfortable room temperature (around 20 degrees celsius).
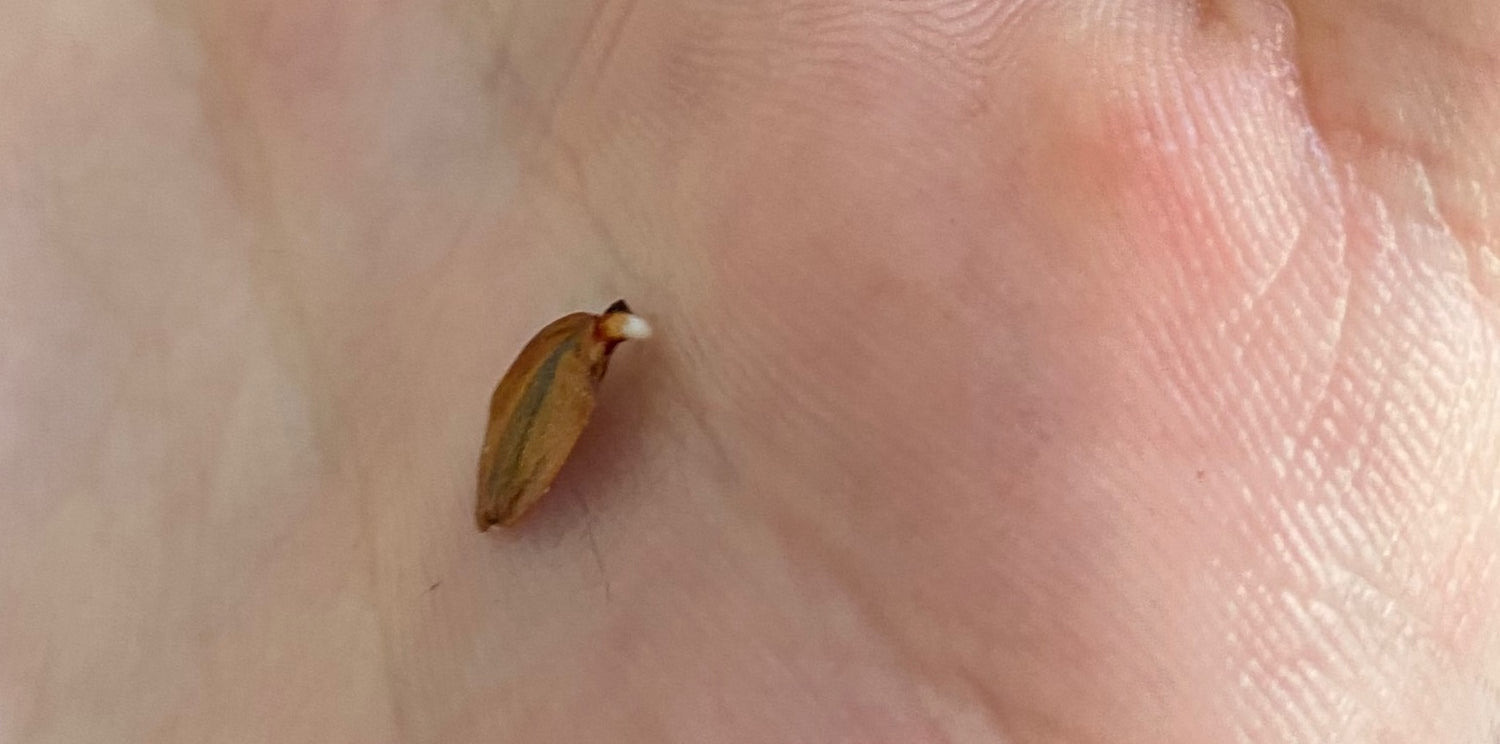
You will need to check on the seeds daily for germinations. We have found seeds germinating within the first 48 hours of sowing – but the exact time it takes to germinate depends largely on the pre-treatment that the seeds were given, as specified in the graph above. If you leave a seed for too long after germinating, its root will dig into the kitchen paper making it difficult and risky to remove – therefore, the sooner you catch germinations the better. A germinated seed can be identified by a small root (a radicle) emerging from the seed.
After Germination
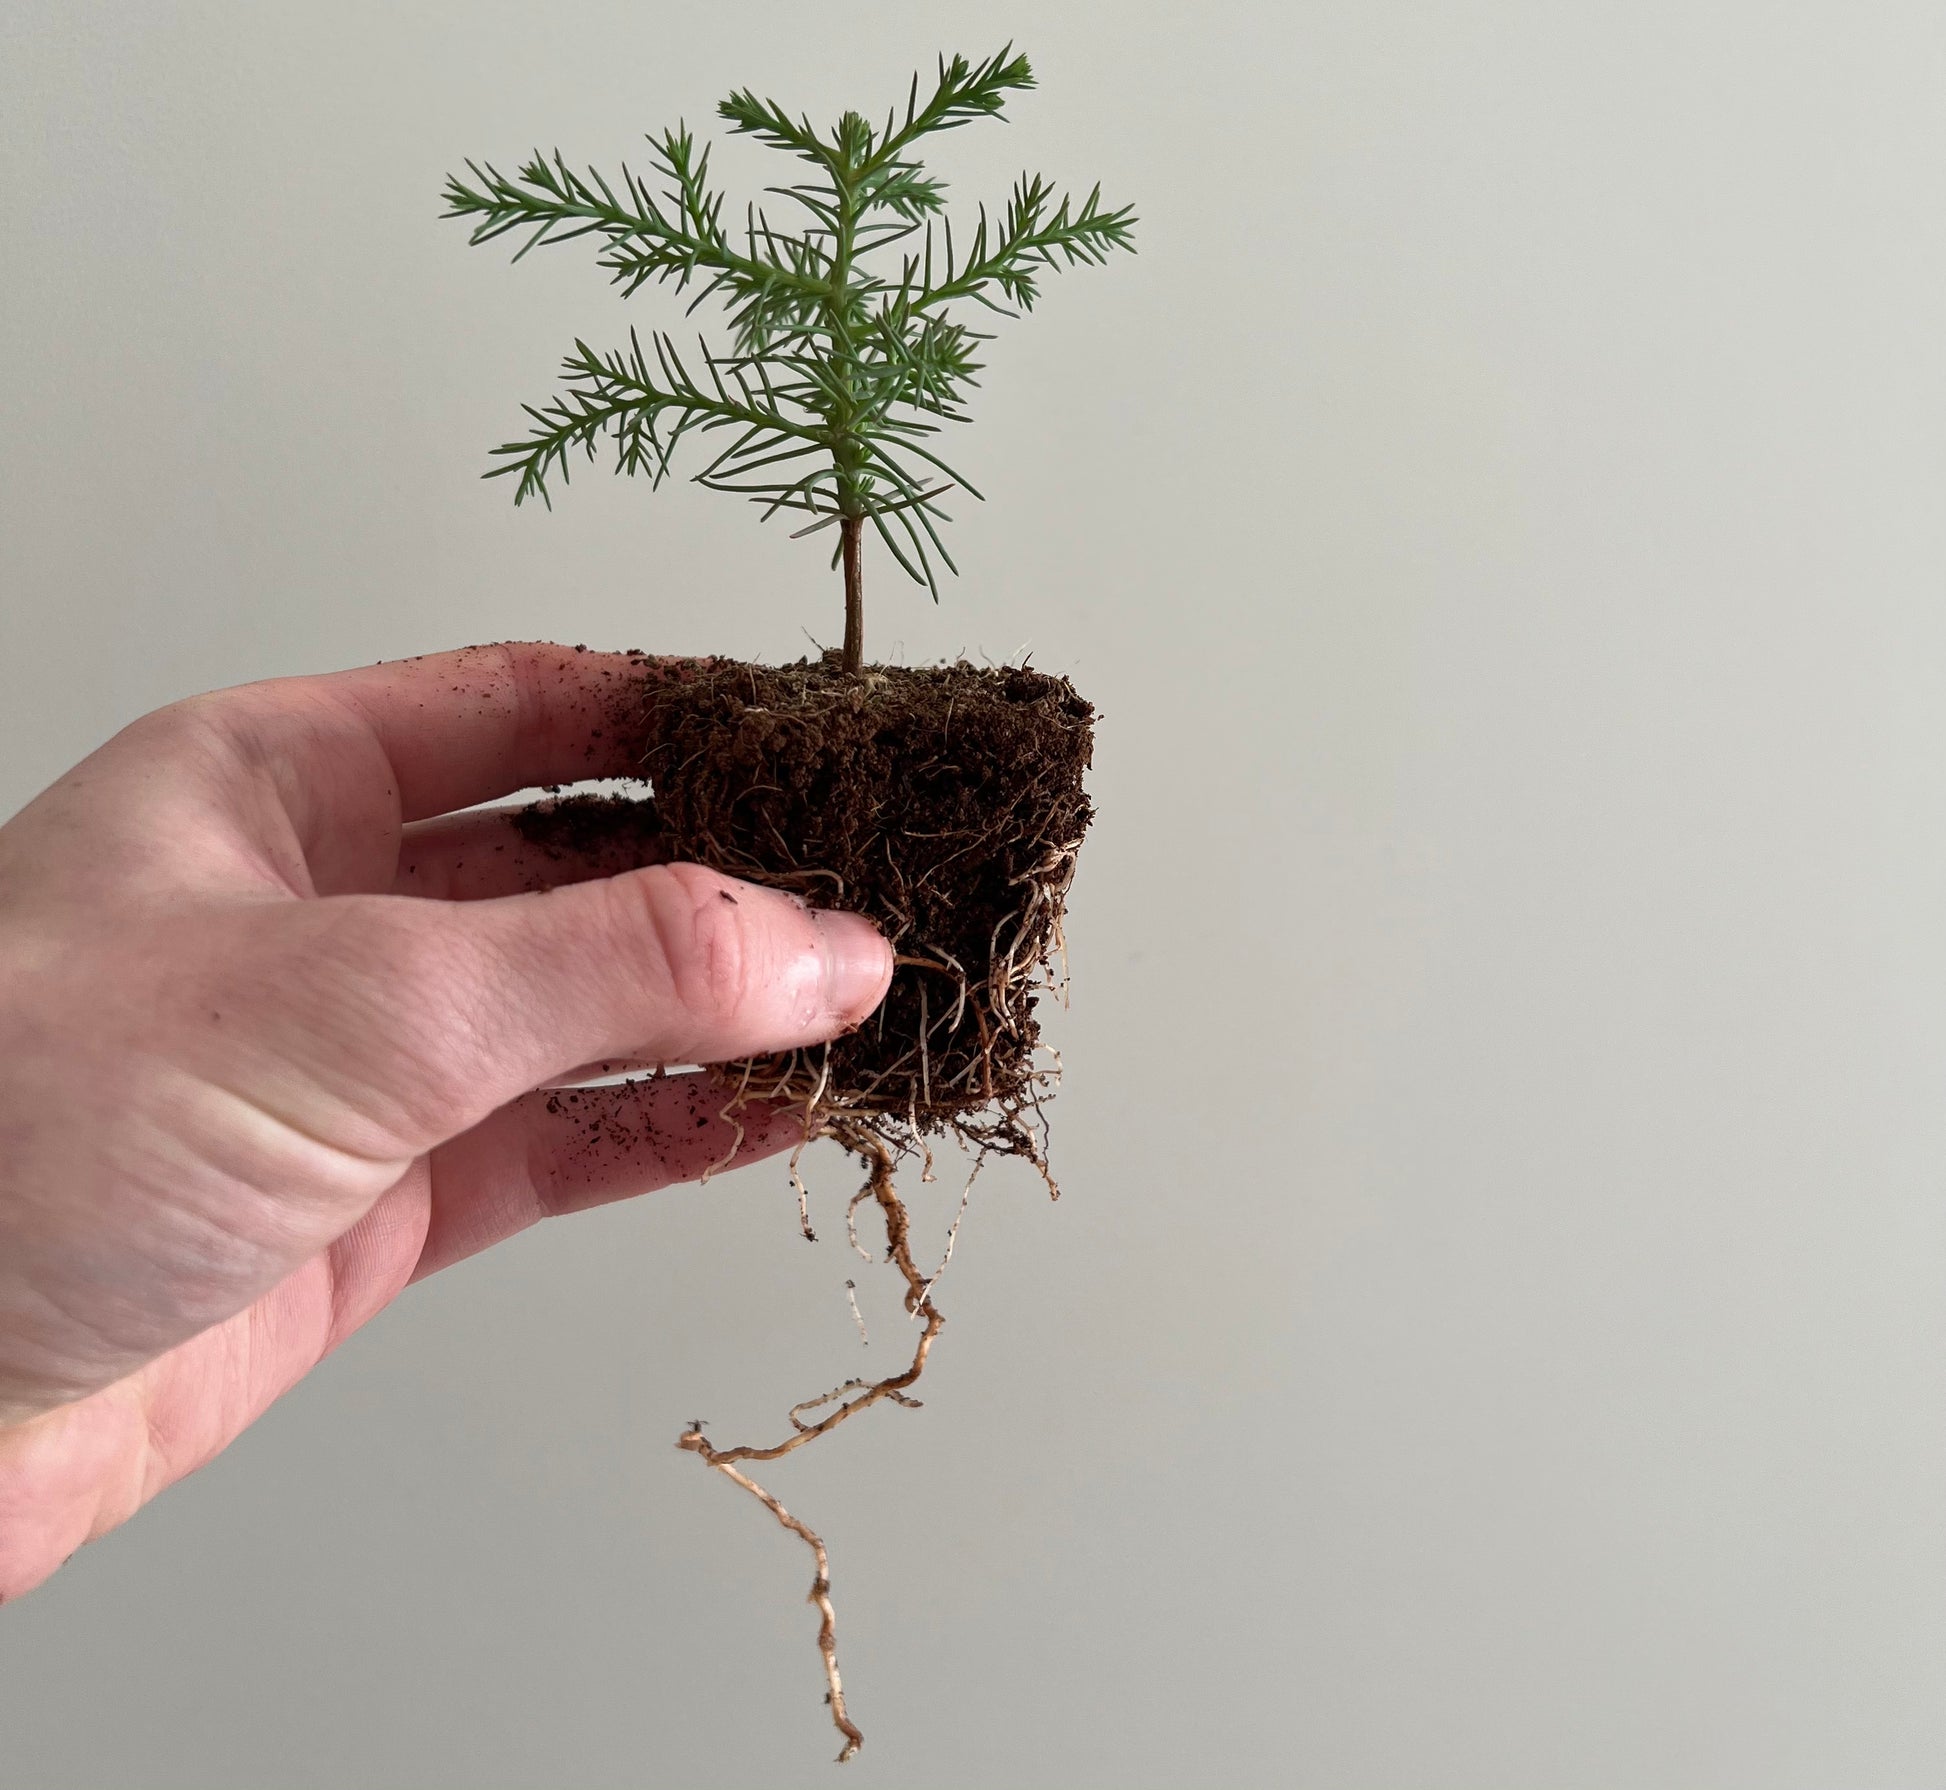
If using the container method: When you spot a germinating seed, it’s time to plant it in compost. Germinated seeds should be planted around 0.5-1cm below the surface.
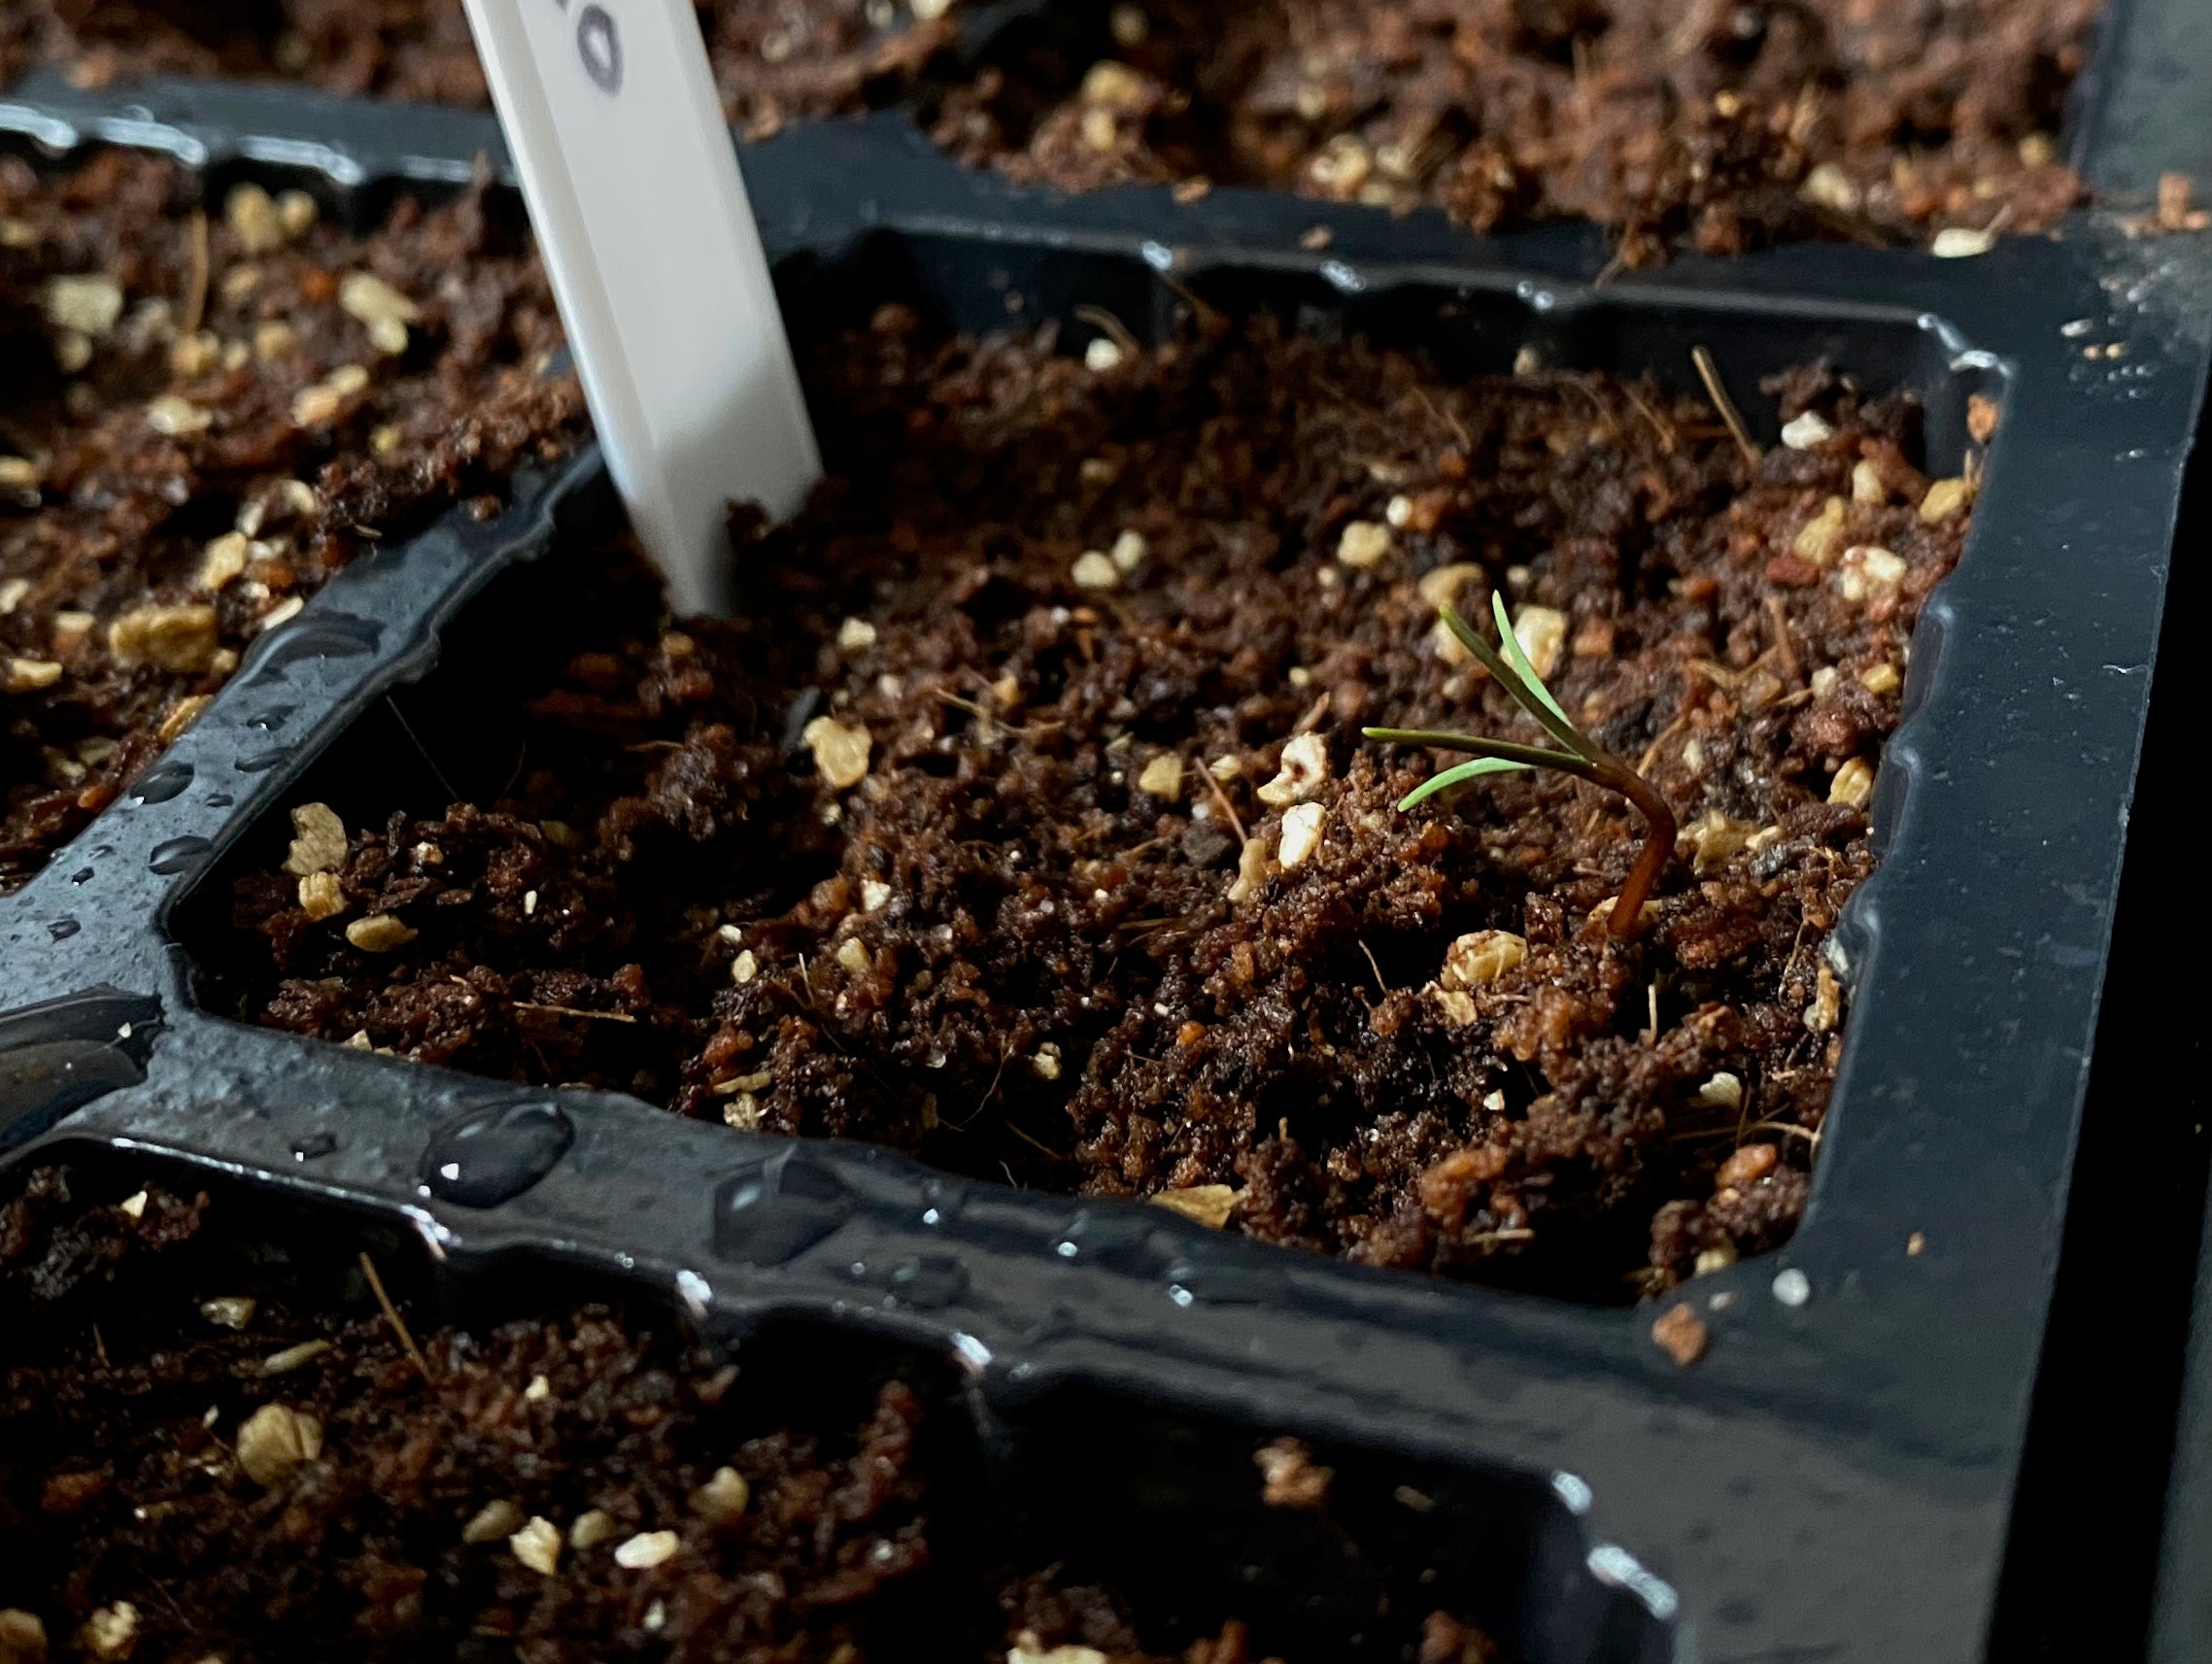
A germinated seed will usually appear above the compost within 4-7 days if using a loose coir compost - expect a few days more if a heavier compost is used. They often appear first as a small “loop”, as the head of the seedling is being slowly pulled out of the compost by the radical. It will usually take a day or to more for the head to be pulled up out of the compost and stand up straight. Sometimes the head, consisting of its first leaves (2-5 cotyledons) will still be covered by the seed even after the little tree has stood up straight. In these cases you can sometimes test to see if it is loose, and if so, help the Sequoia out by lifting it carefully off. Be careful not to attempt to pull off seed cases that are still firmly attached as you can accidentally pull off the top of the tree, leading to an almost certain death.
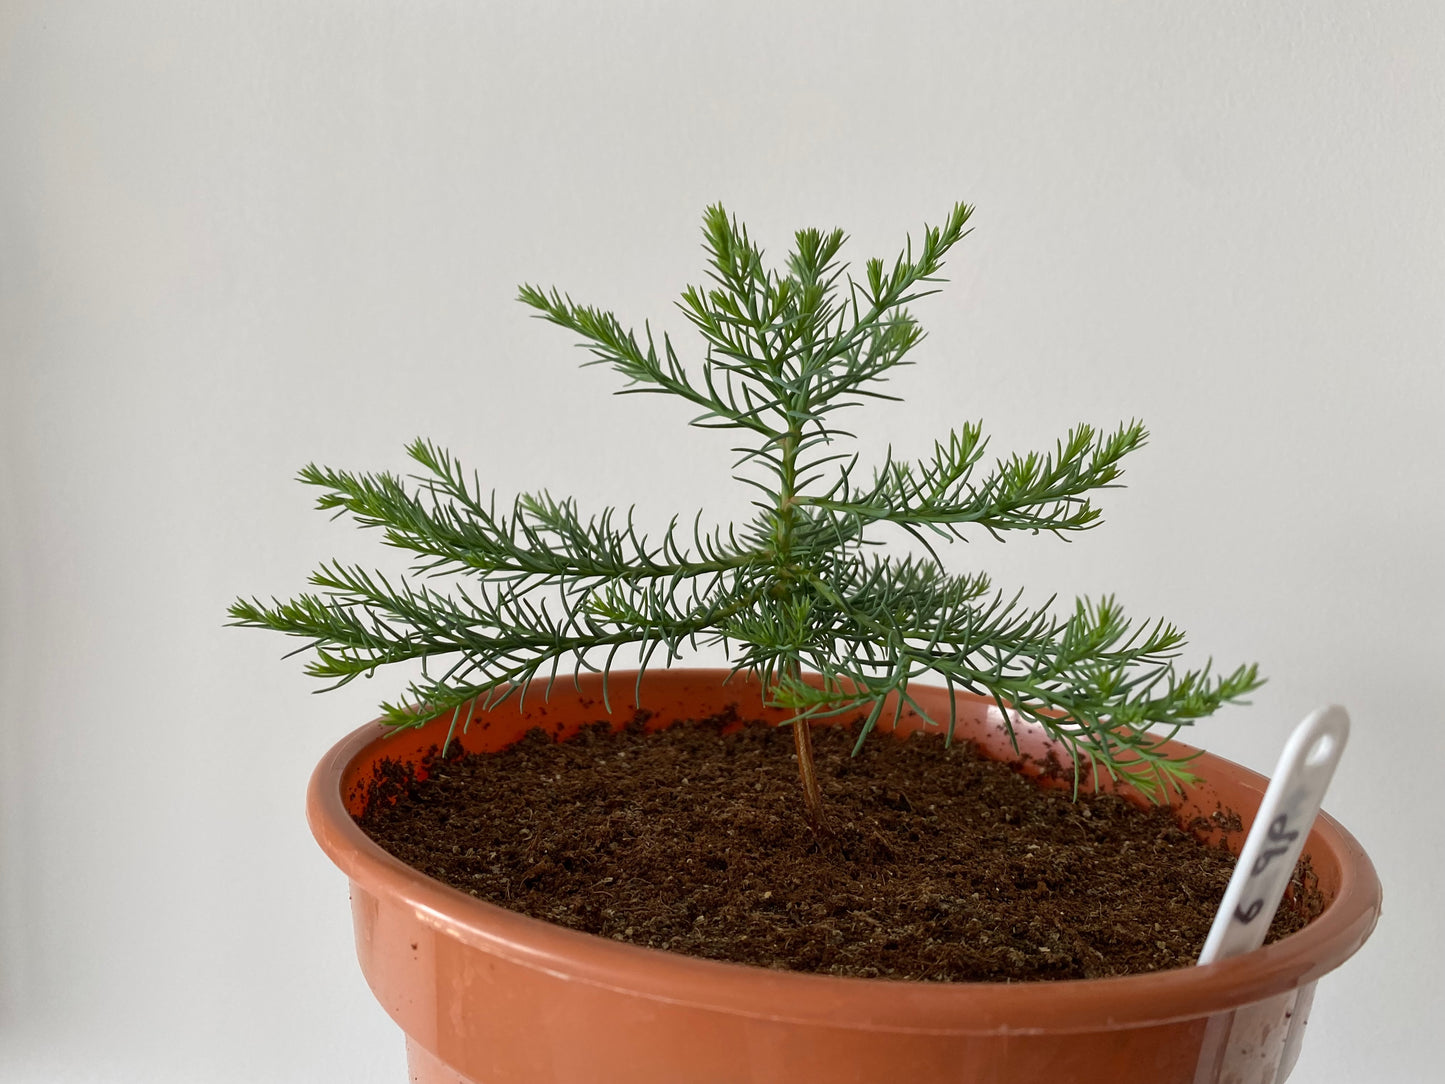
The first growing season
Soon after germination your trees can be placed in a sunny outdoor location. In the UK, there will be little if any issues with the Giant Sequoia seedlings being exposed to direct midday sun, provided that they are not allowed to completely dry out and are well maintained.
The amount of growth your Giant Sequoia seedlings will experience over the first growing season is highly variable. In our experience, the range is often between 5 and 25cm.